How to prepare your patio for sealing
Share
Proper preparation is essential for achieving the best results when sealing your patio. A well-prepared surface ensures that the sealer adheres effectively and provides lasting protection. This step-by-step guide will walk you through the cleaning, repair, and preparation process to help you achieve a flawless finish.
1. Clear the Area
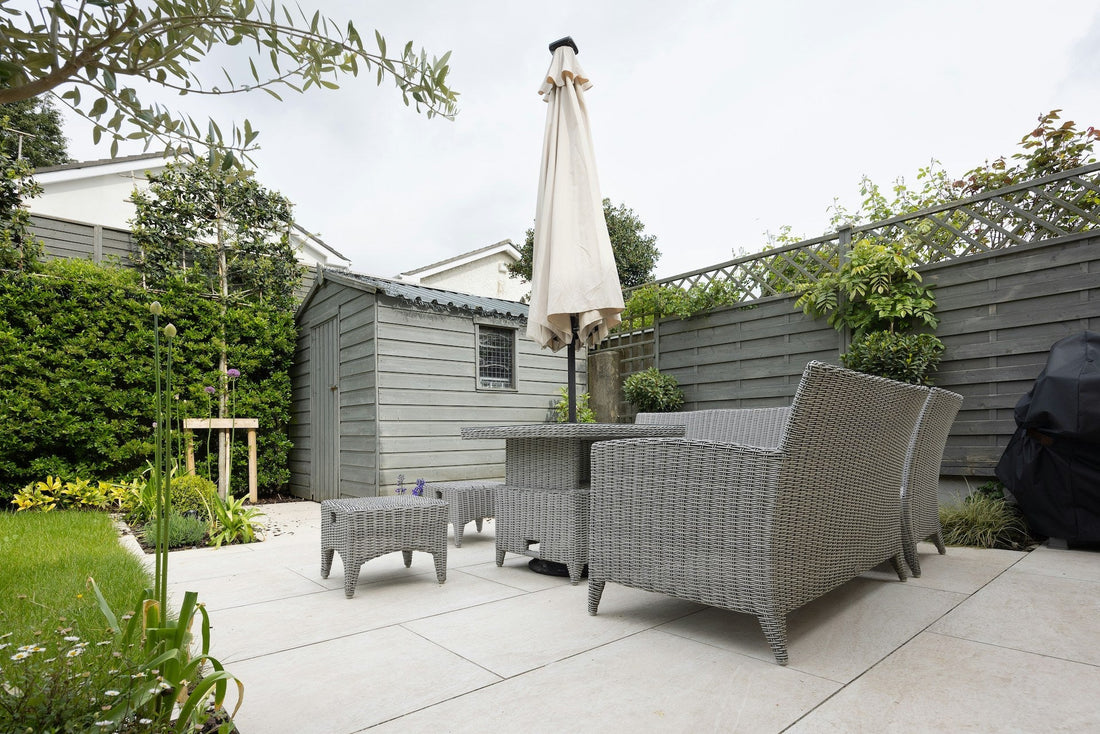
Before you start, remove all furniture, plants, and other items from the patio. This will give you unobstructed access to the entire surface and prevent any debris from interfering with the sealing process.
2. Clean the Surface.
A. Sweep the Patio:
Start by sweeping the patio to remove loose dirt, leaves, and debris. This will ensure a clean surface for further cleaning.
B. Wash the Patio:
Use a pressure washer or a garden hose with a high-pressure nozzle to thoroughly clean the patio. If you’re using a pressure washer, set it to a moderate pressure to avoid damaging the surface. For stubborn stains, you may need a patio cleaner or degreaser. Follow the manufacturer's instructions for any cleaning products used.
C. Remove Algae and Moss:
If you notice algae, moss, or lichen growth, treat these areas with a specialised cleaner designed to eliminate these issues. Allow the cleaner to sit for the recommended time before scrubbing and rinsing.
3. Inspect and Repair the Surface
A. Check for Damage:
Examine the patio for any cracks, loose stones, or other damage. Address these issues before applying the sealer to ensure a smooth and even application.
B. Repair Cracks and Joints:
Fill any cracks or joints with a suitable filler or mortar. Follow the product instructions for application and curing times. Ensure the filler is completely dry before proceeding.
C. Repointing:
For patios with jointing sand, consider repointing the joints if the sand has worn away. This involves adding new jointing sand to the gaps between the pavers or stones. Brush the sand into the joints and sweep away any excess.
4. Allow the Surface to Dry
After cleaning and repairing, allow the patio to dry completely. This can take several hours to a full day, depending on weather conditions. Ensure the surface is thoroughly dry to prevent trapping moisture under the sealer.
5. Prepare for Application
A. Protect Surrounding Areas:
Use masking tape and plastic sheeting to protect any adjacent areas, such as walls, flower beds, and driveways, from accidental sealer splashes.
B. Read the Sealer Instructions:
Familiarise yourself with the sealer’s application instructions, including the recommended temperature and humidity levels for application. This will help you achieve the best results.
C. Gather Your Tools:
Ensure you have all necessary tools ready, including a roller or brush, a paint tray or scuttle, and any applicator equipment recommended by the sealer manufacturer.
6. Apply the Sealer
Follow the manufacturer’s instructions for applying the sealer. Typically, this involves applying an even coat using a roller or brush, working in manageable sections. Avoid over-applying or leaving puddles of sealer.
7. Allow Curing Time
After applying the sealer, allow it to cure for the recommended time. This may involve avoiding foot traffic or furniture placement for a specified period to ensure the sealer dries and bonds properly.
8. Final Touches
Once the sealer is fully cured, remove any protective coverings and replace your patio furniture and plants. Enjoy your freshly sealed patio, which should now have enhanced protection and a revitalised appearance.