The Ultimate Guide to Repointing a Patio
Share
The Ultimate Guide to Repointing a Patio
Over time, even the most beautiful patios can start to show signs of wear and tear. One of the most common issues homeowners face is crumbling or missing mortar between paving slabs—this is where patio repointing comes in. In this ultimate guide, we’ll walk you through everything you need to know about repointing a patio: what it is, why it matters, and how to do it yourself.
What Is Patio Repointing?
Repointing a patio involves removing old, damaged mortar from between the paving slabs (also known as joints) and replacing it with fresh mortar or a modern jointing compound. This restores the structural integrity of your patio and enhances its appearance.
Why Repointing Is Important
- Prevents Water Ingress and Weed Growth: Gaps in joints allow water to seep through and weeds to grow, potentially damaging the base layers.
- Improves Safety: Loose slabs and missing mortar can be tripping hazards.
- Extends Lifespan: Regular maintenance like repointing keeps your patio solid and long-lasting.
- Boosts Aesthetic Appeal: Clean, neat joints improve the overall look of your outdoor space.
Tools & Materials You’ll Need
Tools:
- Chisel or angle grinder
- Hammer
- Wire brush
- Bucket
- Pointing trowel
- Pressure washer
- Soft broom or brush
- Safety goggles and gloves
Materials:
Choose the jointing compound that best suits your project:
Step-by-Step Guide to Repointing a Patio
Step 1: Remove Old Mortar or Compound
Use a chisel and hammer—or an angle grinder with a mortar rake blade—to carefully chip out the old material between the slabs. Aim to remove at least 20–25mm of depth for a solid bond.
Step 2: Clean the Joints
Once all the old mortar is removed, use a wire brush to clean out any debris, dirt, or dust from the joints. Rinse with water to remove all dust and debris.
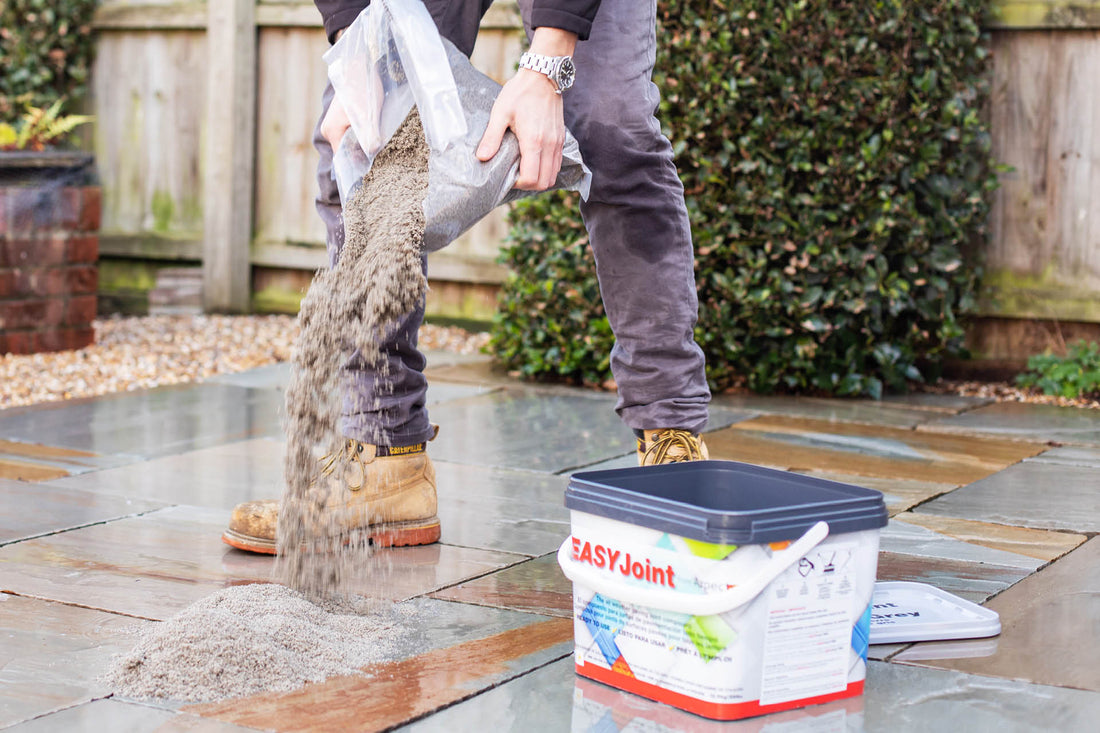
Step 3: Fill the Joints
Distribute the jointing compound as required and compact into the joints using a jointing iron or flat tuck pointer. Work in small, manageable sections. Compact well to avoid air pockets, which can cause cracking. Detailed installation instructions are supplied with each of the products.
Step 4: Smooth and Finish
Once the joints are filled, run a pointing tool or rounded stick along them to create a smooth, concave finish. This improves durability.
Step 5: Clean Up
Use a soft brush to remove any excess compound from the surface of the slabs before it sets. Sweep at 45-degree angles so as not to disturb the joints.
Step 6: Allow to Cure
Let the new compound set for 24–48 hours to ensure a long-lasting finish.
When to Call a Professional
If your patio has major structural issues, significant movement, or drainage problems, it’s best to consult a professional landscaper. DIY repointing is perfect for routine maintenance, but complex repairs may require expert help.
Final Thoughts
Repointing a patio is a satisfying and cost-effective way to give your outdoor space a facelift. With a little time and the right tools, you can restore the look and strength of your patio—making it ready for years of enjoyment.